I love creating free content full of tips for my readers, you. I don't accept paid sponsorships, my opinion is my own, but if you find my recommendations helpful and you end up buying something you like through one of my links, I could earn a commission at no extra cost to you. Learn more
A poorly calibrated laser means you won’t get the accurate measurements or projection using your laser. It is essential to use a calibrated laser as it could translate to your project not measuring up in the end.
Most laser levels are already calibrated off the box. But there are a few that do not provide a built-in calibration. Apart from that, if the laser takes a few hard knocks, it’s calibration could be hampered. That’s why we’ll teach you to calibrate a laser level with some simple steps.
In this post we'll cover:
Self-Leveling Calibers
Some rotary lasers are built with automatic levelers inside them. These self-leveling lasers make calibration easy. But this feature is not available in all the lasers. Check the box for details regarding this feature. Also, don’t think that your laser was pre-calibrated right at the beginning. The calibration could become less because of unexpected circumstances during shipping or delivery. So always check the calibration even if it says on the box that it’s pre-calibrated.Calibrating the Laser Level
Set up your laser on a tripod and place it in a hundred feet away from a wall. On the tripod, rotate the laser such that the face of the laser is pointing at the wall. Then, turn on the detector and the level. The sensor will give off the signal for levelness. Mark it on the wall. This will be your reference mark. After you’ve marked the first signal, rotate the laser 180 degrees and make a level mark. Measure the difference, i.e., the distance between the two spots that you’ve made. If the difference is within the specified accuracy on the device, then you don’t need to worry.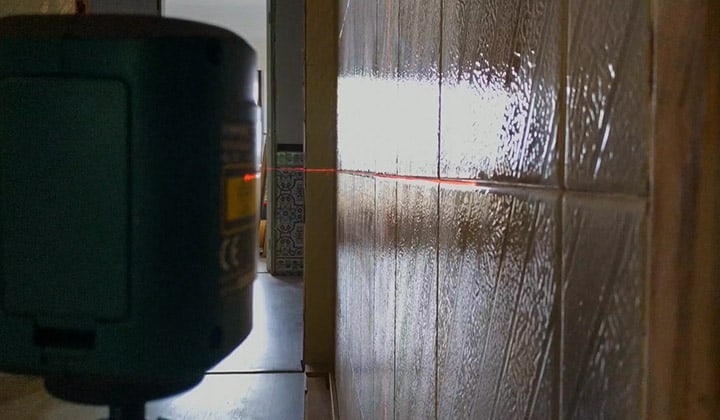
Factors That Influence the Caliber
At the core level, physical and mechanical movements inside the laser are responsible for changing the calibration. Rough conditions will cause the laser level to become less calibrated. This includes hitting bumps on the road while carrying the laser. Use the provided hardshell case to prevent this issue. Apart from that, job sites or construction sites that use heavy machinery produce constant vibration. The laser could lose some of its calibrations due to this too. It is also possible to lose the calibration if the laser falls off from a high place.Preventing Calibration Loss | Locking System
Many of the rotary lasers have a pendulum locking system inside them that is used to stabilize the diodes when the laser is not in use. This is incredibly helpful when transporting the laser over bumpy roads and rocky terrain. The locking system is helpful in situations where the laser could be jostled around. However, thick glass plates also do an excellent job of protecting the laser diode against dust and water that could potentially damage the laser and decrease the calibration.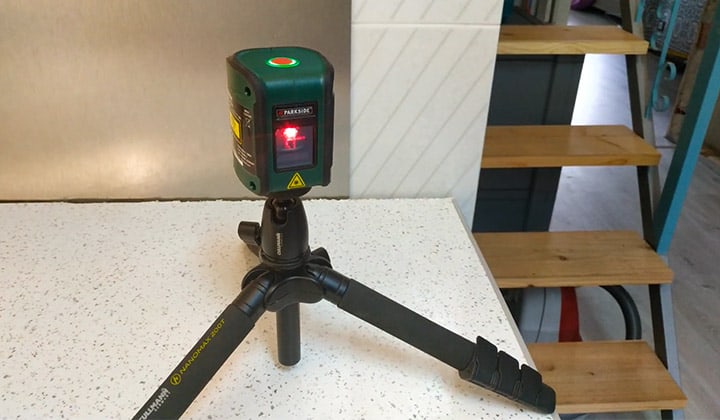
Summing it Up
Laser measuring tools are becoming popular day by day. Calibrating the laser level is incredibly smooth, with just a few tools. Any professional should calibrate his/her laser level almost all the time while doing a project. You may have the best laser level but a simple error because of a poorly calibrated laser could lead to catastrophic results in the final project. So, always calibrate your lasers.
I'm Joost Nusselder, the founder of Tools Doctor, content marketer, and dad. I love trying out new equipment, and together with my team I've been creating in-depth blog articles since 2016 to help loyal readers with tools & crafting tips.