I love creating free content full of tips for my readers, you. I don't accept paid sponsorships, my opinion is my own, but if you find my recommendations helpful and you end up buying something you like through one of my links, I could earn a commission at no extra cost to you. Learn more
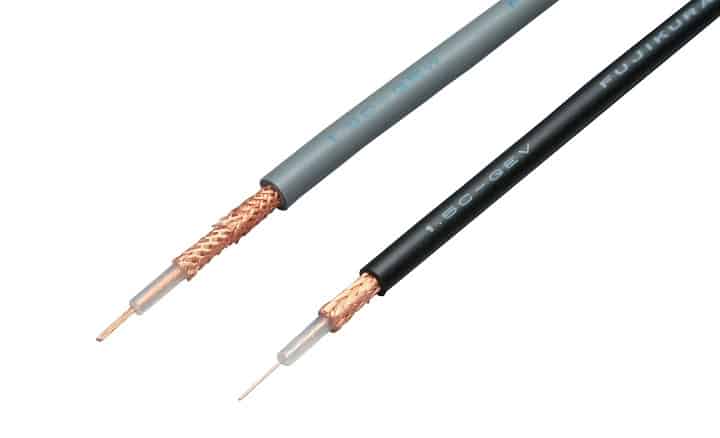
Generally, an F-connector is crimped with a coaxial cable, also known as a coax cable. The F-connector is a special type of fitting that is used to connect the coaxial cable with a television or other electronic device. The F-connector works as a terminator to maintain the integrity of the coax cable.
In this post we'll cover:
7 Steps to Crimp Coaxial Cable
You need a wire cutter, coax stripper tool, F-connector, coax crimping tool, and coaxial cable. You can find all these required materials at the nearest hardware store. You can also order these items online.Step 1: Cut the End of the Coaxial Cable
Step 2: Mold the End Part
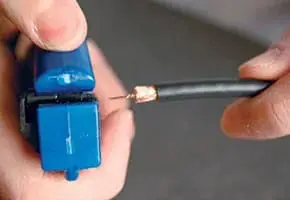
Step 3: Clamp the Stripper Tool Around the Cable
To clamp the stripper tool around the coax first insert the coax into the right position of the stripper tool. To ensure proper strip length ensure that the end of the coax is flush against the wall or guide on the stripping tool.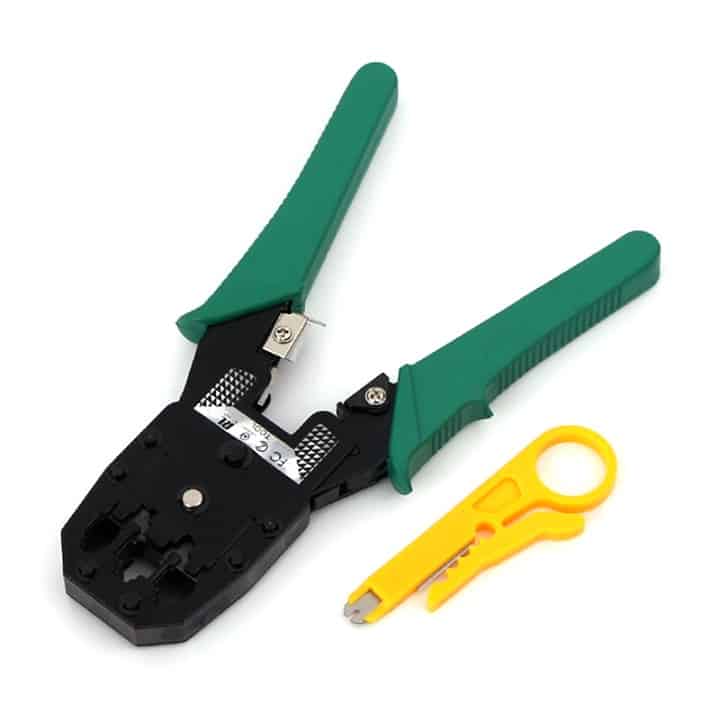
Step 4: Expose the Center Conductor
Step 5: Pull off the Outer Insulation
Pull off the outer insulation that has been cut free. You can also do it using your finger. A layer of foil will be exposed. Tear this foil off and a layer of metal mesh will be exposed.Step 6: Bend the Metal Mesh
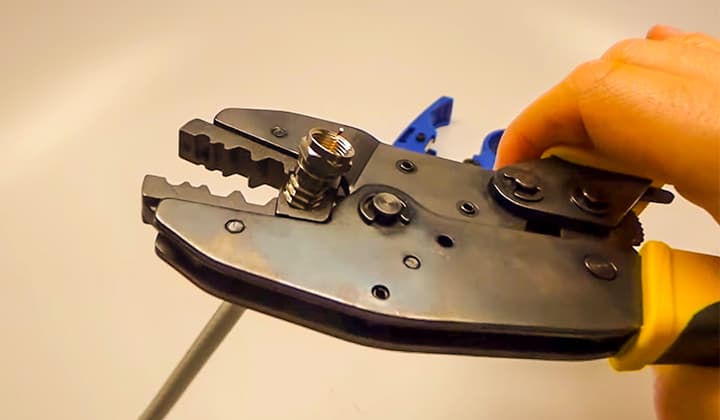
Bend the exposed metal mesh in such a way so that it is molded over the end of the outer insulation. There is a layer of foil under the metal mesh covering the inner insulation. Be careful while bending the metal mesh so that the foil is not torn off.Step 7: Crimp the Cable into an F Connector
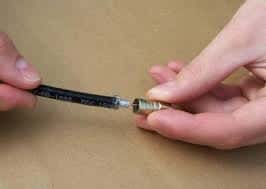
Press the end of the cable into an F connector and then crimp the connection. You need a coax crimping tool to complete the task.
Final Words
The basic of this operation is slipping on the F connector and then secure it with a coaxial cable tool, which presses the connector onto the cable and also crimps it simultaneously. The total process can take a maximum of 5 minutes if you are a beginner but if you are accustomed to crimping work like you are experienced in crimping cable ferrule, crimping PEX, or other crimping work it won’t take more than one or two minutes.
I'm Joost Nusselder, the founder of Tools Doctor, content marketer, and dad. I love trying out new equipment, and together with my team I've been creating in-depth blog articles since 2016 to help loyal readers with tools & crafting tips.