Do you like an intarsia box? I sure do. I mean, who does not appreciate a well-crafted intarsia box? Such an amazing and pleasing thing they are. But how do they make those? Although there are a handful of tools in play here, the main credit goes to the scroll saw. Here’s how to make a simple scroll saw box.
Scroll saws on their own are quite amazing. Their precision and accuracy in woodcutting are almost unparalleled. In this article, we will go through the process of making a simple intarsia box.
While a scroll saw is needed for the major part of the project, it is not the be-all-end-all. We will still need to use a couple of sanders and some other utilities like glues, clamps, and papers for templates and joints. 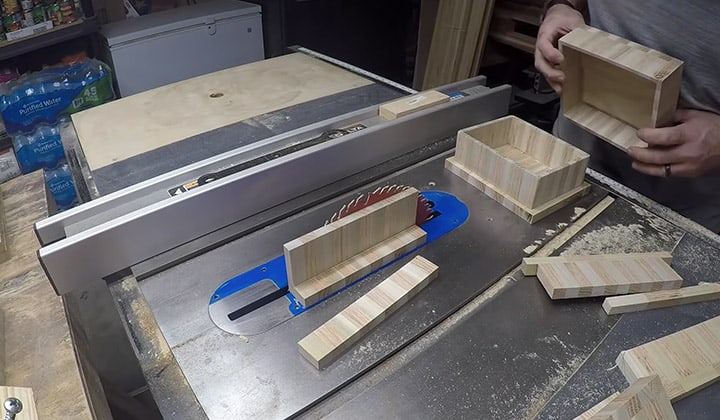
In terms of wood choices, I will be using Oak and walnut. I think both of the colors are quite nice and they contrast very well. I really like the combination, but it is a subject of preference. In terms of sanding, I will be using 150 grit and 220 grit. With that, preparations are done, stretch your hands, and let’s get to work.
Making A Box With The Scroll Saw
For this tutorial, I will be making a really simple box. I will make my box with Oak body and a Walnut lid and bottom. It will be circular in shape, with just a circular inlay on the lid. Follow along, and at the end, I’ll give you a gift.
Step 1 (Making The Templates)
The process begins with getting all the templates drawn. For my project, I drew two different templates, both with two circles, one encapsulating the other.
My first template is for the body/sidewall of the box. For that, I took a piece of paper and drew the outer circle with four and ½ inches diameter and the inner circle with 4 inches diameter and with the same center point. We will need four of these.
The second template is for the lid of the box. As my design is just a circular oak inlay, I drew two more circles with the same center. The outer circle is with a diameter of 4 and ½ inches, and the inner one is with a diameter of 2 inches. However, feel free to draw or even print out the design of your choice.
Step 2 (Preparing The Woods)
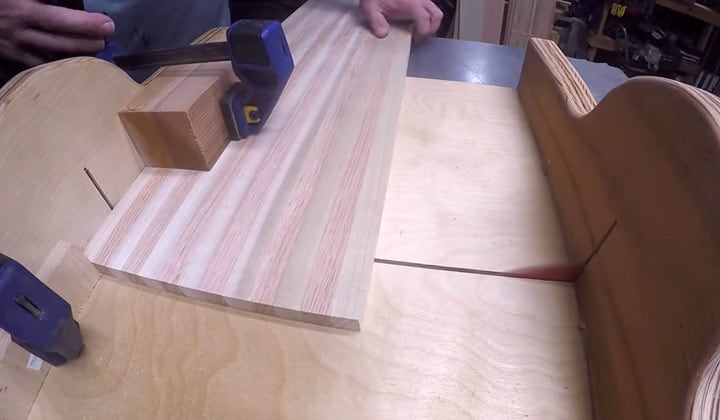
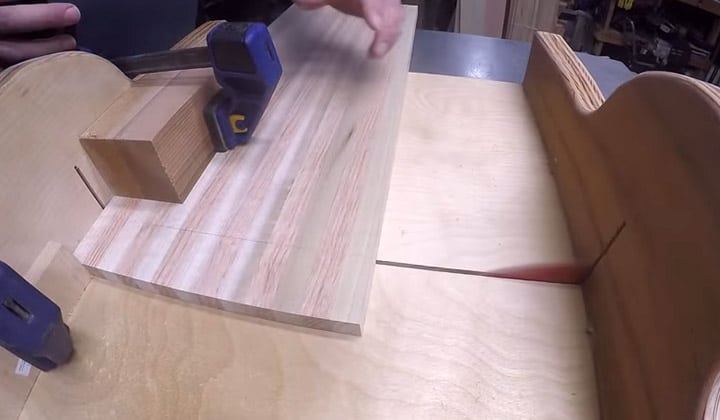
Take three pieces of square-shaped Oak blanks, each ¾ inches thick and with a length of about 5 inches. Place a body/sidewall template on top of each of the blanks and secure them with glue. Or, if you want, you can put a layer of tape first and glue the templates on the tape. That way, it will be easier to remove later.
For the bottom, take a piece of walnut blanks of the same size as the oak blanks but with a depth of ¼ inches. In the same way, as before, secure the fourth sidewall template on top of it. The lid is by far the most complicated one.
For the lid, take three more pieces of blanks of the same dimension as the bottom blank, two of walnut and one of Oak. The oak one is for the inlay.
You will need to secure the lid template on top of a walnut blank as before and stack them on top of the oak blank. Secure them properly. The other walnut blank is for the lid liner. We will come to it later.
Step 3 (To The Scroll Saw)
Take all the prepared bits to the scroll saw and start cutting. In terms of cutting-
- Take the rim blanks and cut out both the inner circle and the outer circle. We will only need the donut-shaped part. Do this for all three.
- Take the stacked lid blanks. Tilt the table of the scroll saw to the right by 3-degree to 4- degrees and Cut out the inner circle. Cut clockwise and very cautiously because we will need both the inner circle and the to-be donut-shaped part.
- Take the central circular part and separate the two pieces. We will be using the oak circle. Put both of them aside. Take the other part of it and separate the walnut from the Oak as well. Cut the outer circle from the walnut only; ignore the Oak.
- Take the bottom blank and cut out only the outer circle. The inner circle is redundant. Peel off the remaining template.
Step 4 (Stress Your Hands)
All the cutting is done for the time being. Now sit back for a minute and stress your hands really well!
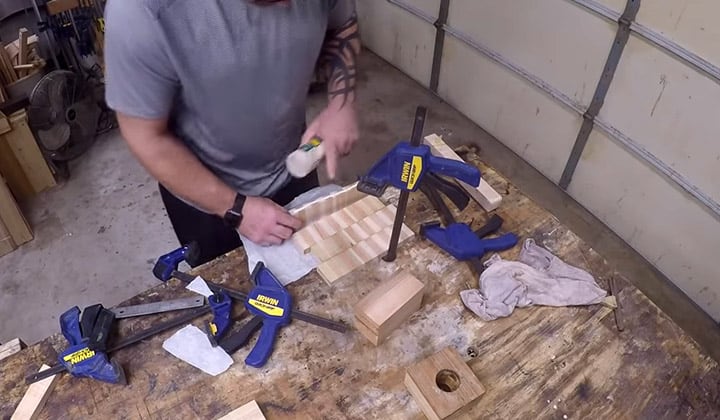
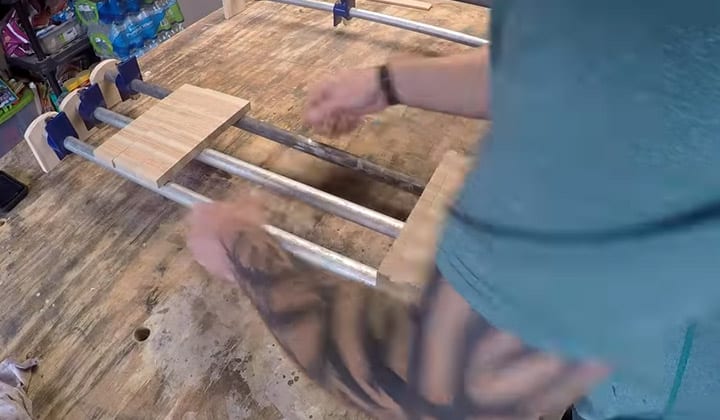
The next step requires you to go to the sander. But before that, take the three sidewall donuts, remove the remaining template bits and glue them together. Clamp them together and leave them to dry.
Step 5 (To The Sander)
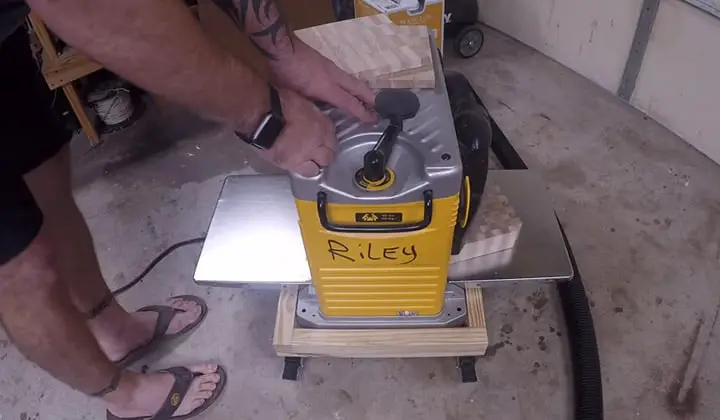
Use a 150-grit drum sander to smooth out the inner side of the glued rim until you are satisfied with the outcome. Leave the outer side as it is for the time being.
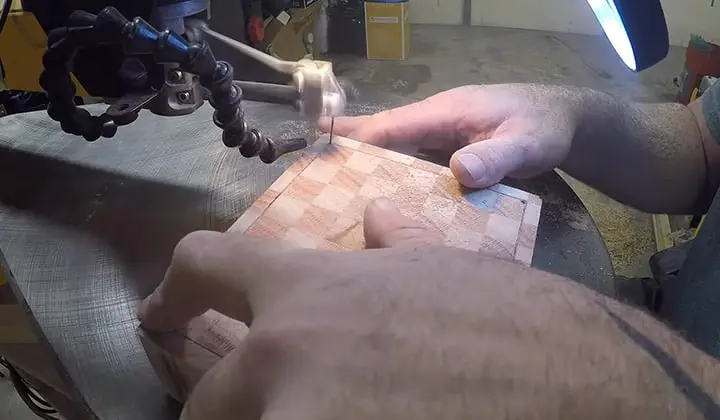
Then take the oak circle that we made in the second stage of step 3 as well as the ring-shaped walnut piece. Use 150-grit sandpaper to roughly smoothen the outer edge of the Oak and the inner edge of the walnut. Do not go overboard, or it will be an issue later on.
Add glue to the edges and insert the oak circle inside the walnut piece. Let the glue sit and fixate. If you sand too much, you will need to add filler in between. That would not be as cool.
Step 6 (To The Scroll Saw Again)
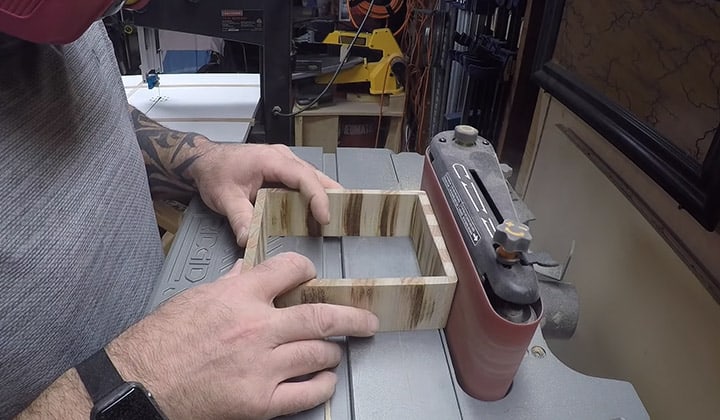
Take the sidewall and the lid liner blank (the one without any template). Put the rim on it and mark the inside of the rim on the blank. Cut it out, tracing the circle but not on the circle. Cut with a slightly larger radius. This way, the liner will not fit inside the rim of the box; thus, you will have room for further sanding.
Step 7 (Back To The Sander)
Use the sander one last time on the inside of the rim if you want a better finishing. You can use the 220 grit as well for better finishing. But 150 is also fine. Then take the lid liner and keep sanding until it snugly fits inside the rim. When it does, the liner is ready. Take everything to the workbench (here are some great ones).
Now take the lid and put the rim on it so that the outer edge matches. They should since they were cut with the same diameter. Mark the inside of the rim and put the rim away.
Apply glue inside the marking on the lid and place the lid liner. The liner should match with the marking nearly perfectly. Secure them in place. Also, take the bottom and glue it with the rim.
When the glues dry, the box is functional and nearly ready. All that is left to do is to put the finishing touches. With the lid closed, you will need to sand the outside of the rim.
This way, the rim, the bottom, and the lid will be finished at the same time, and there will be less complicacy. Use 220 grit sander to finish the process and end with a near-perfect finishing.
Summery
Like that, we just finished our simple scroll saw box project. You can still add epoxy to fill the gaps further, or add color if you please, or go for rounded edges, etc.
But for the tutorial, I will leave it at this. Remember about the gift that I promised? If you followed the tutorial, you have a pretty little box now, which you did not have at the beginning. You are welcome.
With practice and creativity, you can improve your skill a lot. And sooner than you think, you can start making the mind-blowing ones like a pro.

I'm Joost Nusselder, the founder of Tools Doctor, content marketer, and dad. I love trying out new equipment, and together with my team I've been creating in-depth blog articles since 2016 to help loyal readers with tools & crafting tips.