I love creating free content full of tips for my readers, you. I don't accept paid sponsorships, my opinion is my own, but if you find my recommendations helpful and you end up buying something you like through one of my links, I could earn a commission at no extra cost to you. Learn more
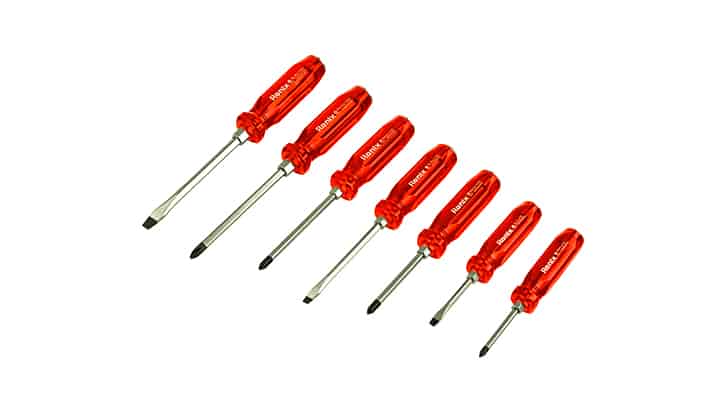
If the trunk latch gets jammed or if it is crashed you will have to face problems. But if you have a flathead screwdriver you can solve your problem.
In this post we'll cover:
Method 1: Opening a Trunk with a Screwdriver from Inside
First, you have to open the car to open the trunk from inside. If your car is locked then you have to use the screwdriver to open it first and then you can use the same screwdriver to open the trunk7 Steps to Open a Trunk
Step 1: Open the Car Door
Wedge the door and the frame apart inserting the screwdriver. It is better to insert the screwdriver from a safe distance of the hinges so that the door of the car or the locking mechanism doesn’t get damaged.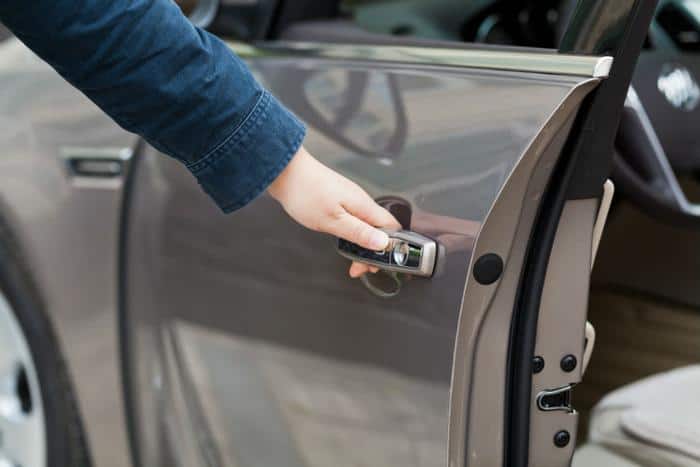
Step 2: Get Into the Car
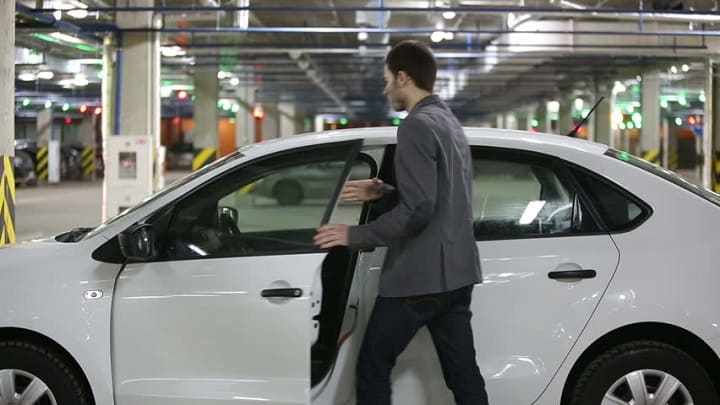
Step 3: Push the Car’s Front Seat Forward
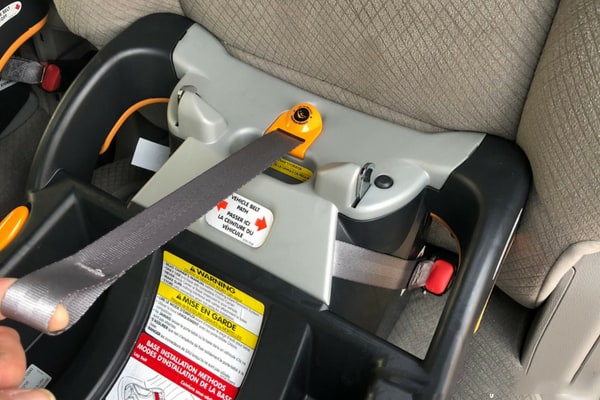
Step 4: Remove the Back Seat
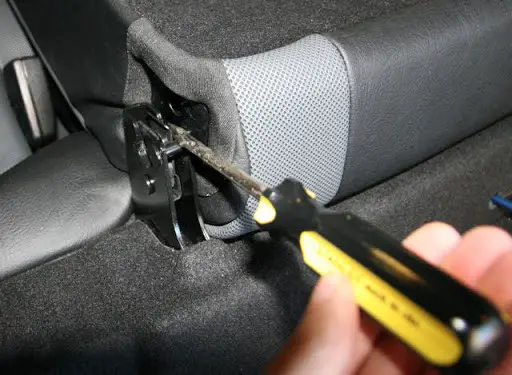
Step 5: Crawl Inside the Trunk
Crawl inside the trunk and shed some light using a flashlight. If you don’t have a flashlight, don’t worry – use the flashlight of your phone to shed light.Step 6: Locate the Metal Bar
Step 7: Turn the Box Clockwise
You can access the box using the screwdriver. Turn the box clockwise to open it and the work is complete – the trunk is open. Now return everything to the original placement and come out.Method 2: Opening a Trunk With a Screwdriver from Outside
Use the screwdriver to try and pry opening the trunk’s lock by wedging your way left and right. Do it until the trunk is opened. This method needs a lot of patience and the success rate is also very low. On the other hand, the possibility of damaging the trunk by applying this method is very high. Your screwdriver may break and you may also get hurt.Final Words
Using the right screwdriver is very important. So, before heading to the operation check the head of the screwdriver. According to my opinion, it is better to avoid the second method and choose the first one. If you cannot do the first method better take help from the professional. When there is no other path open to you except choosing the second method only then I will suggest you choose the second method. But you must be very careful.
I'm Joost Nusselder, the founder of Tools Doctor, content marketer, and dad. I love trying out new equipment, and together with my team I've been creating in-depth blog articles since 2016 to help loyal readers with tools & crafting tips.