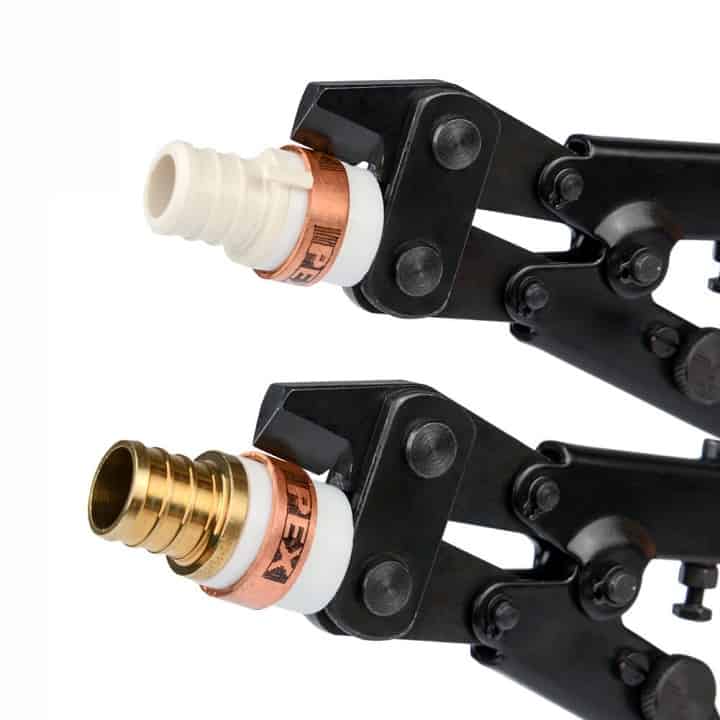
The popularity of PEX tools is increasing day by day among the plumbers because the convenience you can get working with the PEX material is not available if you work with brass or other metal. Installing and removing PEX both are fast, easy, and there is less chance to make mistakes.
There are several methods applied by professionals to remove the PEX clamp from the fitting assembly. Here we will discuss the two most common methods to remove PEX clamp.
Before starting the PEX clamp removing process you have to turn off the water supply. You can do it by simply rotating the water supply valve.
In this post we'll cover:
Method 1: Removing PEX Clamp Using an End Cutter
5 Steps to Remove PEX Clamp
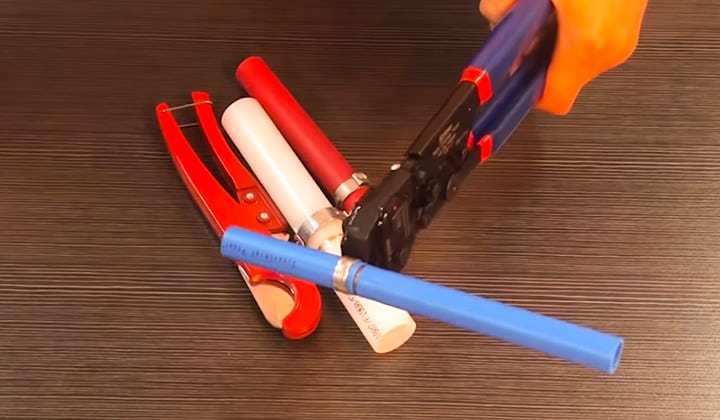
You need to gather an end cutter, a needle nose plier (these are great ones) or a side cutter, a cleaning cloth, and hand gloves for safety.
Step 1: Clean the Working Area
Clean the working area including the inside and the surroundings of the PEX clamp using a cleaning cloth. And yes, don’t forget to wear the hand glove before going to the next step.
Step 2: Cut the Fitting Assembly
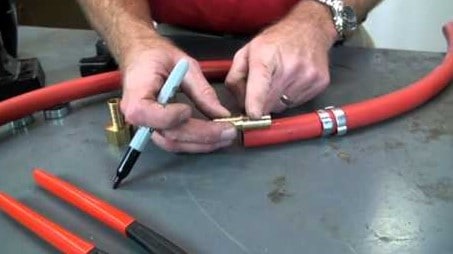
Take the pipe cutter and cut the PEX fitting assembly so that it can be separated from the PEX pipe. Try to cut leaving around ½” – 3/4“ of pipe. When you will pull the pipe from the fitting using the plier it will help you to get a good grip.
Step 3: Cut Through the Clamp Ear
Placing the cutting jaw of a side cutter on each side of the clamp ear squeeze the handles hard so that the jaws cut through the clamp ear.
Step 4: Remove the PEX Clamp
Grip one of the cut ends with the jaws of the side cutter so that you can open and separate the PEX clamp from the assembly.
Step 5: Remove the PEX Pipe
Take the nose plier and grip the pipe with it. Then applying a twisting motion remove the pipe from the assembly.
But be careful while cutting through the pipe so that the fitting does not get damaged. If you don’t want to use the fitting again then no problem cutting through it but if you want to use it later then take great care to remove the pipe so that the fitting remains unharmed and you can use it again.
Method 2: Removing PEX Clamp Using a Pipe Cutter
5 Steps to Remove PEX Clamp
You need to gather a pipe cutter, a needle nose plier or a side cutter, a cleaning cloth, and hand gloves for safety.
Step 1: Clean the Working Area
Clean the working area including the inside and the surroundings of the PEX clamp using a cleaning cloth. And yes, don’t forget to wear the hand glove before going to the next step.
Step 2: Cut the Fitting Assembly
Take the pipe cutter available to you and cut the PEX fitting assembly so that it can be separated from the PEX pipe. Try to cut leaving around ½” – 3/4“ of pipe. When you will pull the pipe from the fitting using the plier it will help you to get a good grip. We suggest you purchase good quality plier set from a renowned brand.
Step 3: Disengage the Interlocking Tab
Disengage the interlocking tab mechanism using a side cutter, You have to place the clamp band tab between the jaw of the side cutter and pry it to the end.
You also can disengage the interlocking tab using a screwdriver. Screwdriver is a common member of our toolbox. So, if the side cutter tool is not available to you, do the job using the screwdriver.
Step 4: Remove the Clamp
Grab the tab using the side cutter and pull it completely so that the band is opened and you can remove the clamp.
Step 5: Remove the Pipe
Grip the PEX pipe with the nose plier and remove it from the fitting assembly with a twisting motion. You may find it difficult to remove the pipe from the fitting because of the barbs on the fitting. You may need to cut through the pipe to remove it.
But be careful while cutting through the pipe so that the fitting does not get damaged. If you don’t want to use the fitting again then no problem cutting through it but if you want to use it later then take great care to remove the pipe so that the fitting remains unharmed and you can use it again.
Final Words
The total process won’t take much time. But be careful while using the cutting tool. If you work in hastiness either you may harm yourself or you may make mistake and damage the fitting.
So, stay calm and cool. Then concentrate and follow the steps above consecutively. When the work is complete check your wristwatch and you will see that you have spent a maximum of 5-7 minutes to remove the PEX clamp from the fitting.

I'm Joost Nusselder, the founder of Tools Doctor, content marketer, and dad. I love trying out new equipment, and together with my team I've been creating in-depth blog articles since 2016 to help loyal readers with tools & crafting tips.