I love creating free content full of tips for my readers, you. I don't accept paid sponsorships, my opinion is my own, but if you find my recommendations helpful and you end up buying something you like through one of my links, I could earn a commission at no extra cost to you. Learn more
If you’ve recently built or renovated a house with wood, you’re probably aware of the price difference between milled and rough-cut lumber. Milled wood is very expensive in comparison to rough-cut lumber. However, by acquiring a thickness planer, you can reduce this expense by transforming rough-cut lumber into milled wood.
In this post we'll cover:
What Is A Thickness Planer
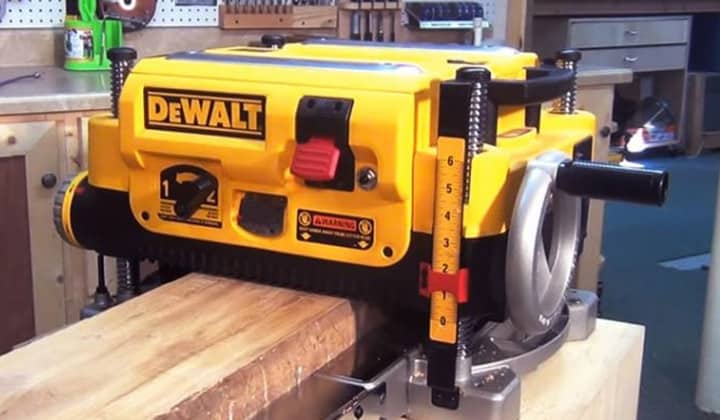
The thickness planer is woodworking equipment for smoothing the surface of rough-cut lumber. It has a special type of blade or cutter head that is used to shave the wooden block down. In most cases, one or two passes through a planer (more types here) can smooth off the surface of your lumber. There are various types of thickness planers for different types of work including large benchtops, free-standing, 12-inch, 18-inch, and 36-inch planers. A free-standing planer can easily handle 12-inch wide stock, meanwhile, a large benchtop can handle 12 inches, 12-inch planers can handle 6-inches and an 18-inch model can handle 9-inch wide stock.How Does A Thickness Planer Work
Before you can learn how to operate a thickness planer, you must first understand how it works. The working procedure of a thickness planer is quite simple. A thickness planer consists of a cutter head with numerous knives and a pair of rollers. The timber or wooden stock will be carried inside the machine by these rollers, and the cutter head will execute the real planer process.How To Use A Thickness Planer
- Choose the right planer for your job.
- Install the equipment of the machine.
- Select lumber.
- Feed and furnish the lumber.
Step One: Choose The Right Planer For Your Job
Thickness planers are quite popular among craftsmen these days because of their small size and ease of usage. Because planers are so popular, there are varieties of planers differing in shapes and sizes. So before using a planer you have to choose the right planer which is suitable for your job. For example, if you need a planner that can work with household current and furnish boards up to 10 inches thick a 12-inch or 18-inch thickness planer will be perfect for you. However, if you want a heavy-duty duality machine, a benchtop or free-standing thickness planer is recommended.Step Two: Install The Equipment Of The Machine
After you’ve chosen the best planer, you’ll need to set it up in your workshop. It’s extremely simple, and today’s planers are designed to fit into your workspace. However, there are a few things to bear in mind while installing:- Place your thickness planer near a power source so that the cable does not get in the way of your job.
- Try to connect the machine to the power socket directly.
- Secure the planer’s base to prevent it from moving or toppling over while in use.
- Make sure you have adequate room in front of the planer to feed timber.
Step Three: Select Lumber
The purpose of a thickness planer is to turn rough, rotted wood into fine, quality lumber. Selecting lumber is mostly determined by the project you’re working on, as different jobs necessitate different types of lumber. However, while choosing timber, look for something that is 14 inches long and no less than ¾ inches wide.Final Step: Feed And Furnish The Lumber
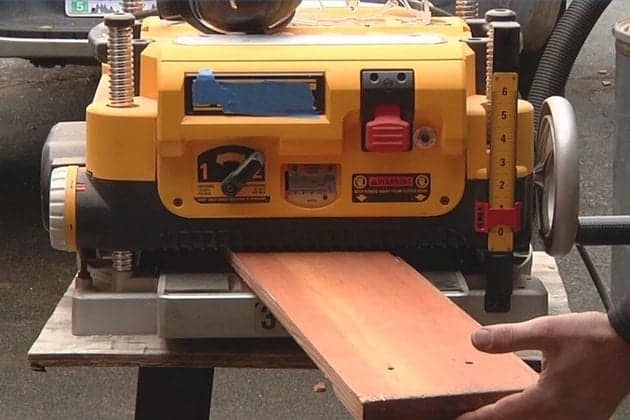
In this step, you have to feed the raw material to your planer and furnish it. To do that and power up your machine and spin the thickness adjustment wheel to the appropriate thickness. Now slowly feed the raw wood into the machine. The cutting blade of the machine will shave the wood’s flesh to your desired thickness. There are a few things to keep in mind at this time:- Never turn the machine on while the lumber is still in the feeder.
- Turn on the machine first, then feed the wooden timber slowly and cautiously.
- Always feed the wood piece across the front of the thickness planer; never draw it from behind.
- To attain the correct thickness, put the timber through the planer more than once.
Frequently Asked Questions (FAQs)
Is it true that a planer makes wood smooth? Answer: Yes, it is correct. A thickness planer’s main job is to transform raw wood into finely finished lumber. Is it possible to straighten a wooden board using a thickness planer? Answer: A thickness planer will not be able to straighten a wooden board. It is generally used to flatten large boards. Is sanding necessary after planing? Answer: After planing, no sanding is required since the thickness planer’s sharp blades will handle the sanding for you, providing you with a fine and furnished piece of wood.Conclusion
Learning how to use a thickness planer will save both your time and money. In addition to completing your own work, you can use this knowledge to create a small company selling furnished lumber. But before all of this, you have to know how to use this machine. It might be dangerous if you are unfamiliar with the machine’s functioning method. It has the potential to injure your workpiece as well as yourself. Therefore, learn how to use the thickness planer before you begin. By now, I am sure you have already realized that by reading this post from top to bottom.
I'm Joost Nusselder, the founder of Tools Doctor, content marketer, and dad. I love trying out new equipment, and together with my team I've been creating in-depth blog articles since 2016 to help loyal readers with tools & crafting tips.